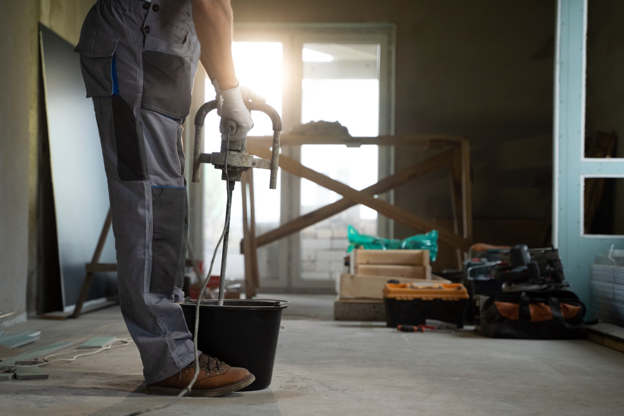
Homeowners and companies shouldn’t expect the epoxy flooring installation process to be a simple weekend project. We’re talking about a multi-step process that calls for understanding, preparation, and application. To get the desired result of a long-lasting, beautiful floor could take up to a week to finish. Here’s what to expect in such an undertaking to beautify residential and commercial spaces.
1. Initial Site and Floor Assessment
It’s a must to conduct a full evaluation of the place where epoxy flooring is to be applied. Examine the concrete for dampness from within and imperfections. A complete study of the site ensures a durable and flawless floor. Skipping this diagnostic stage can lead to problems later.
2. Surface Preparation and Repairs
The concrete floor must be prepped and free of any imperfections before epoxy can be poured on it. Cracks and chips will have to be filled. The entire floor will also have to be ground to roughen it up and open the pores for maximum adhesion. The surface will then have to be cleaned of dust and contaminants to ensure proper adhesion.
4. Epoxy Application
The actual epoxy floor installation steps start right here. After all the preparation mentioned, mix the moisture vapor barrier as directed by the manufacturer. Cover the whole floor with a layer using a roller and squeegee. Be mindful of porous spots that absorb more primer. Let the surface dry for at least eight hours, but not more than 24 hours, for the next step. This forms a chemical bond that seals it permanently and ensures the next coat adheres properly.
5. Adding Decorative Elements
Spreading vinyl flakes and metallic pigments in a swirl pattern over the wet base can transform one’s floor with a visual feature before applying the clear finish. This produces a personalized touch that can bring out the beauty in the floor that you desire.
6. Epoxy Application
Everything is sealed in by this translucent covering that offers outstanding protection from UV radiation and heavy foot traffic. The floor is then protected once the clear ceramic coating or polyaspartic topcoat is poured, evenly applied, and completely dried. To ensure the application is even and smooth, a roller or squeegee is used. The floor must be protected from dust and moisture throughout the process
7. Curing and Drying Period
The hardening phase that’s essential to the floor’s durability starts after the topcoat is applied. The epoxy must be allowed to cure for a minimum of 72 hours and achieve a full cure in seven days.
From Concrete to Canvas
To sum it all up, the epoxy flooring installation process requires meticulous preparation. On top of that, careful application of primer, decorative elements, and topcoat must also be observed with consideration to expertise and patience. A beautiful finish can be achieved, and it starts by stopping by or calling and talking to the experts! Visit us if you desire a fashionable floor. Call Island Wide Resins at 808-769-0977.